A look at the experience during the Disney mosaic art class at Coronado Springs resort:

Most people spend their time at Disney World at the theme parks. Occasionally you might have a relaxing day where you visit the pool, or get a meal at Disney Springs. But did you know that there are actually many activities at Disney resorts that you can take part in?
Be on the lookout for the activities guide at your resort. Some of these events are free, and some have an extra fee involved. While most resorts have your typical activities, like movies by the pool and s’mores at the firepit, some have a number of other options for you to enjoy. The moderate and deluxe resorts in particular have a number of unique options, including classes and activities aimed at adults. You don’t have to be staying at that particular resort to join an activity, either!
During a recent trip, I had the opportunity to try one of the craft classes offered at Coronado Springs resort: Spanish mosaic art. My travel agency did this as a team-building activity after a training day, and I thought it was a really great experience!

A number of Disney resorts now offer mosaic classes (and painting classes), but I think Coronado Springs was one of the first. This makes sense, as the resort itself has lots of mosaic art around.
So what was the experience actually like, and how can you join in? Read on for all the details!
The basics
Cost: $30 per person
Location: Dahlia Lounge at Coronado Springs resort (16th floor)
When: Currently offered Mondays, Wednesdays, and Saturdays at 1pm
Length of time: Approximately 2 hours
How to book: On the website or My Disney Experience app (walk-ups are also welcomed when available)
When you can book: 60 days before your trip
When you first arrive for Disney’s mosaic art class, you’ll be given some materials and instructions. After the cast member goes over each basic step with you, you will then have time to work on the project at your own pace. Once you’re finished you are free to leave. I would guess it takes anywhere from 1-2 hours, depending on the speed of your work.
Disney recommends this project for ages 12 and up (those under 12 must be accompanied by an adult). As a children’s librarian who often does arts and crafts with kids, I agree with this recommendation! Some younger children may be able to handle this, but the majority of kids might struggle with the length of time and intricacy of some of the work.
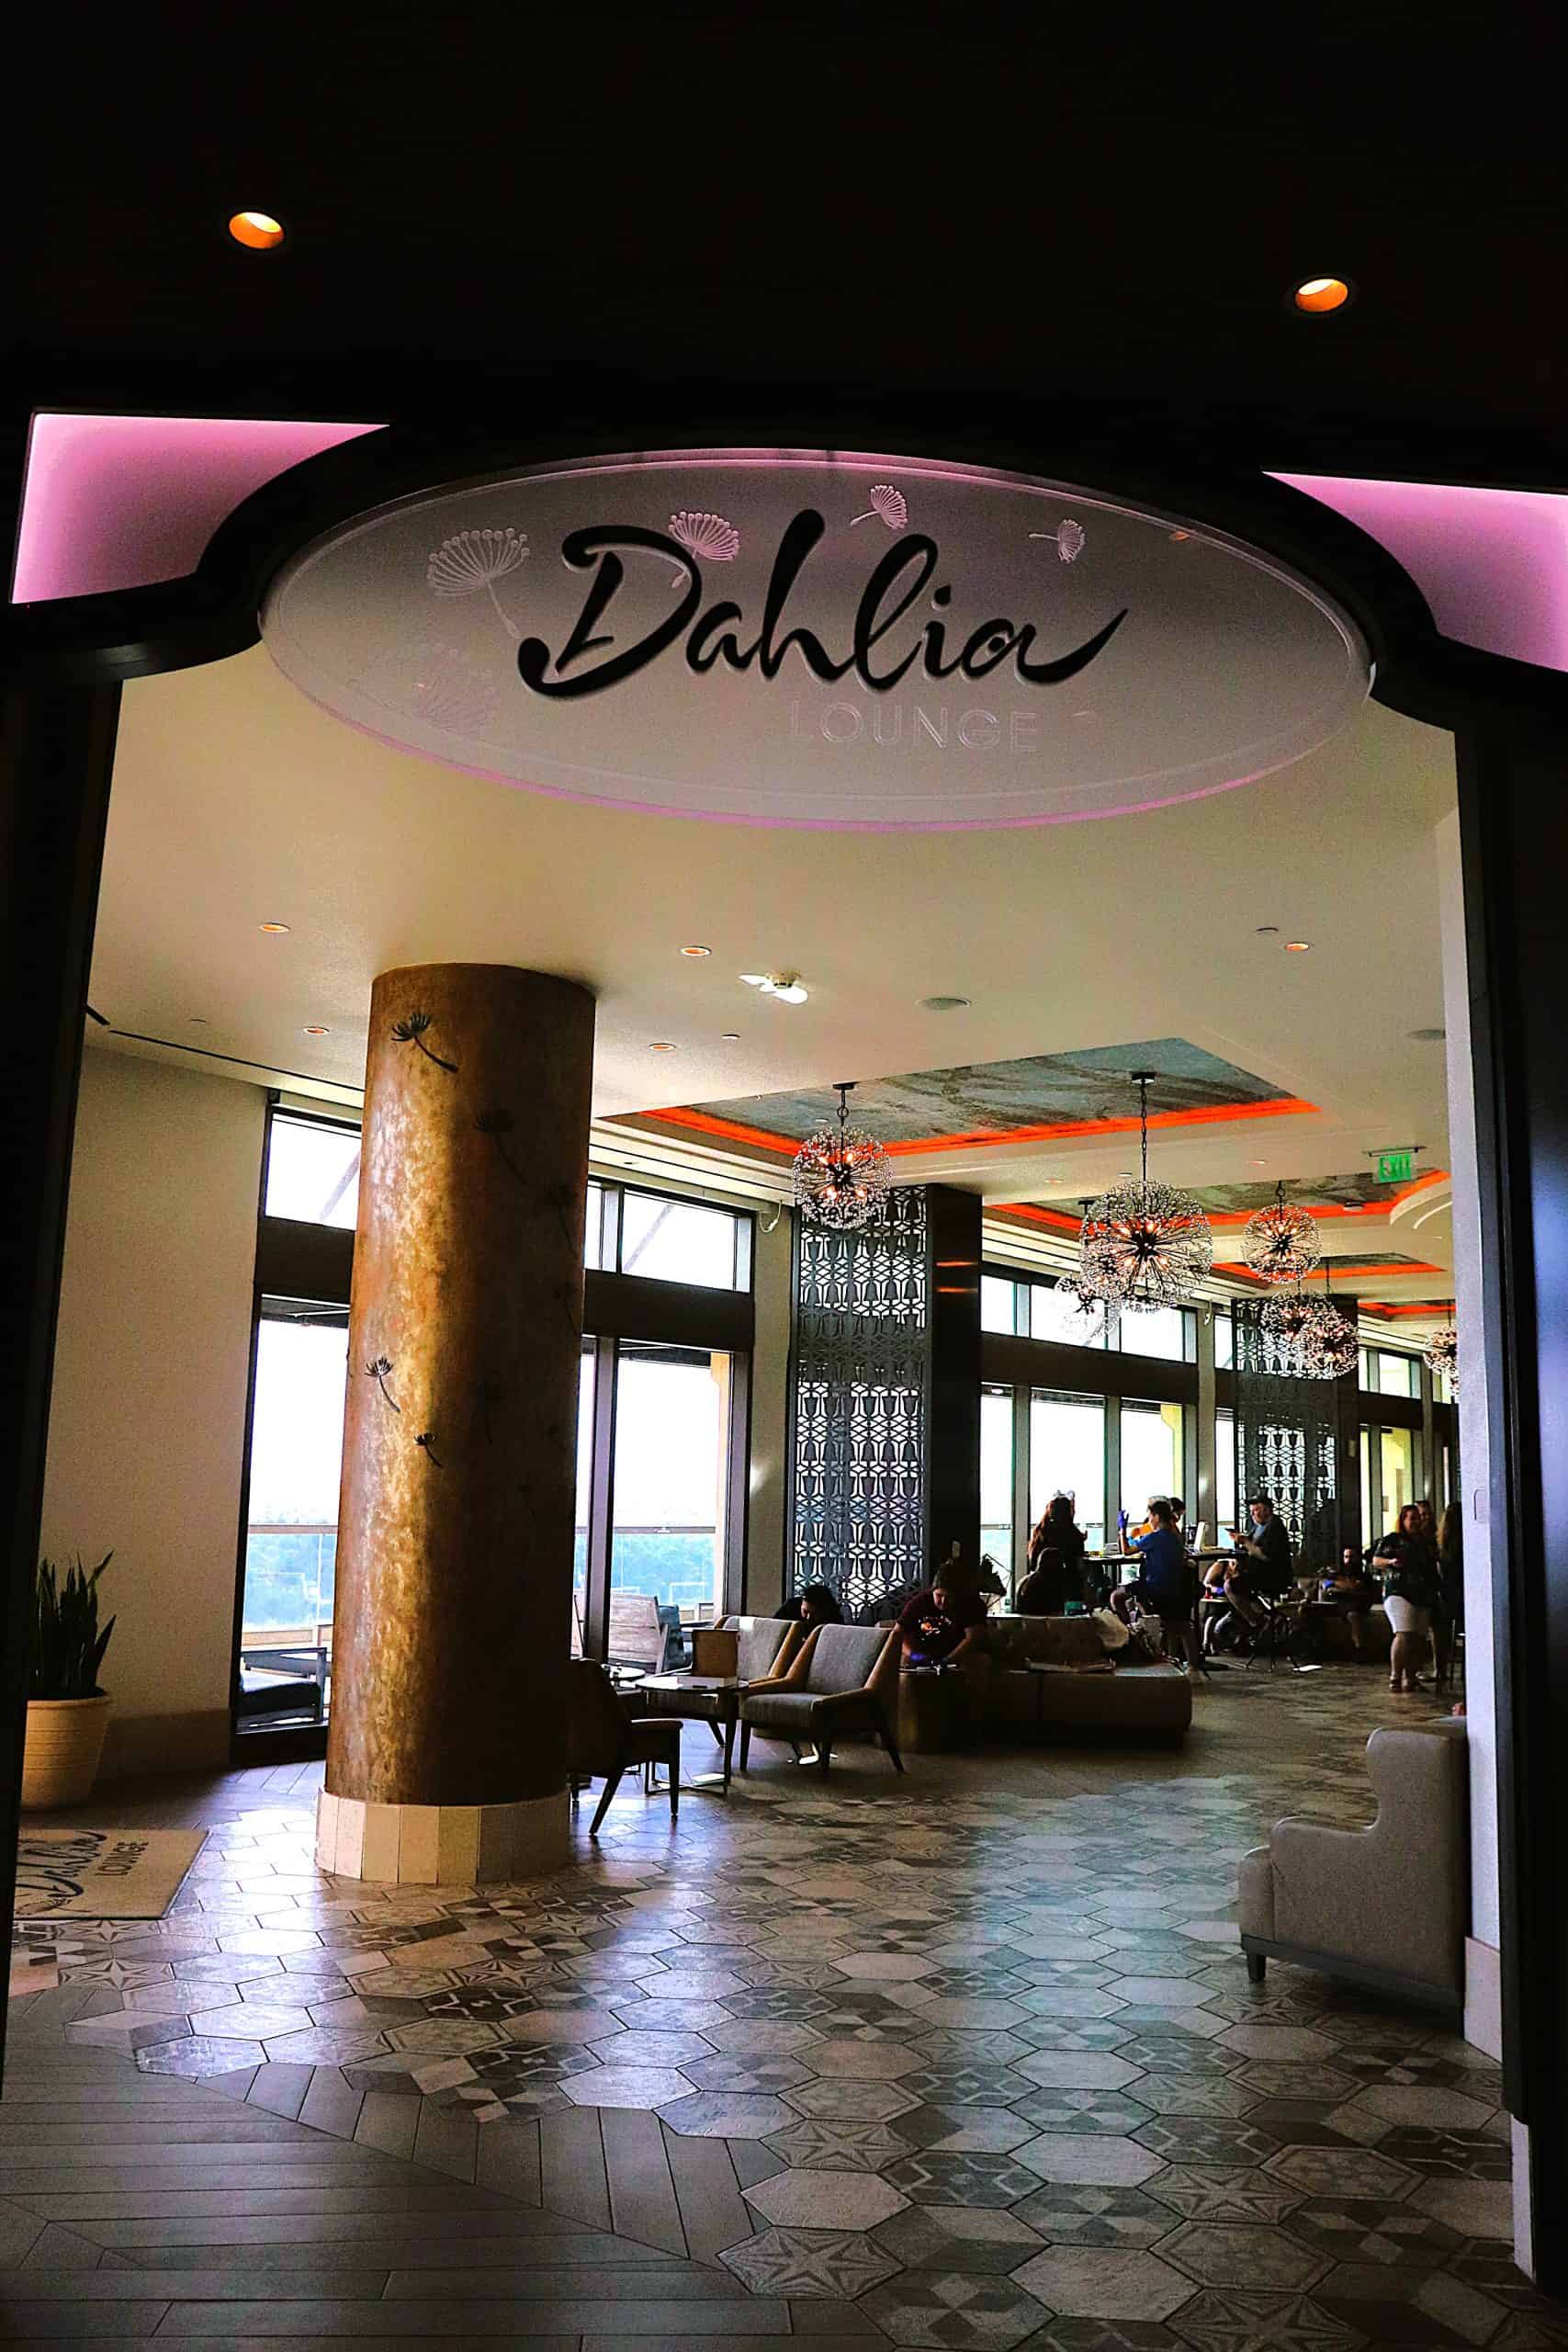
Arrival at Dahlia Lounge
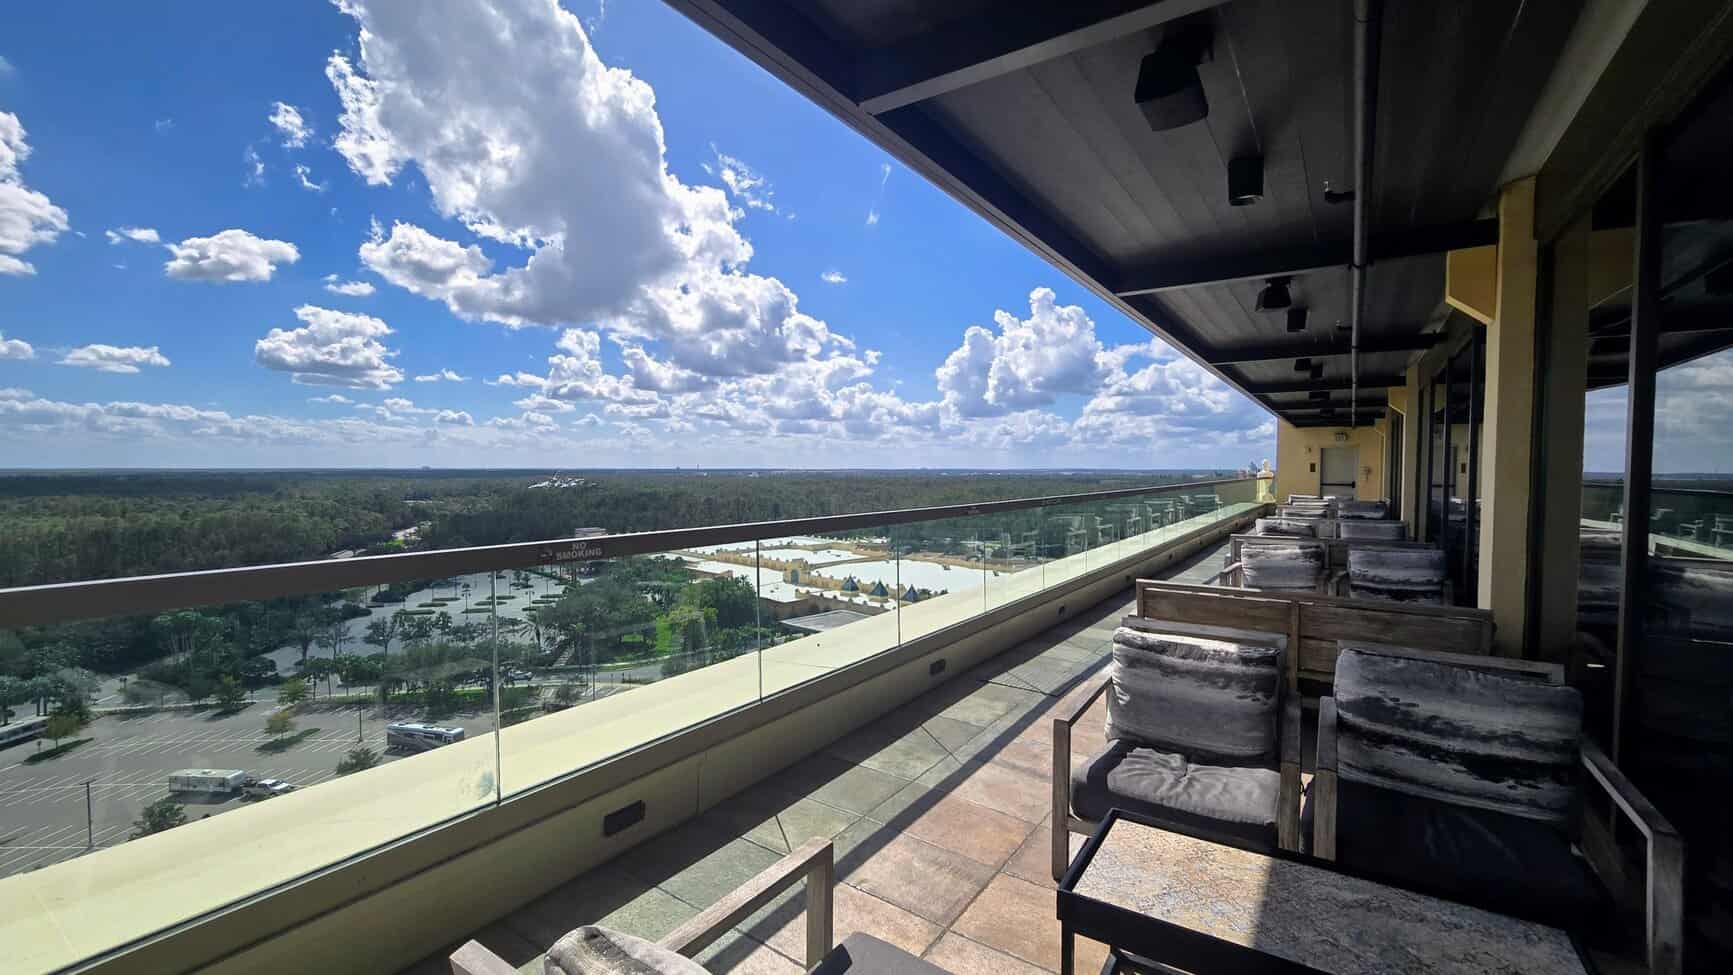
Dahlia Lounge is on the 16th floor of the Gran Destino Tower and is normally only open in the evenings. That makes it a great spot for an activity like this! Plus, you get some great views from the lounge.
After checking in, you had select what you wanted to use as the base of your project. There were a few different shapes, and you could opt for each of them in either black or white. They had a Mickey head, Minnie head, and (because it was Halloween season) a Mickey-shaped bat. I chose the Mickey head in black.

They give you a sheet of paper and you trace your shape. This will be used to help you plan out exactly what you want your mosaic to look like before you officially glue the tiles on.
Select & place your tiles
The next step is to start gathering some tiles! There were large bowls on the bar with tiles sorted by color. They were various shapes for each color as well. You get a small bowl to collect some tiles and take them back to your workspace.
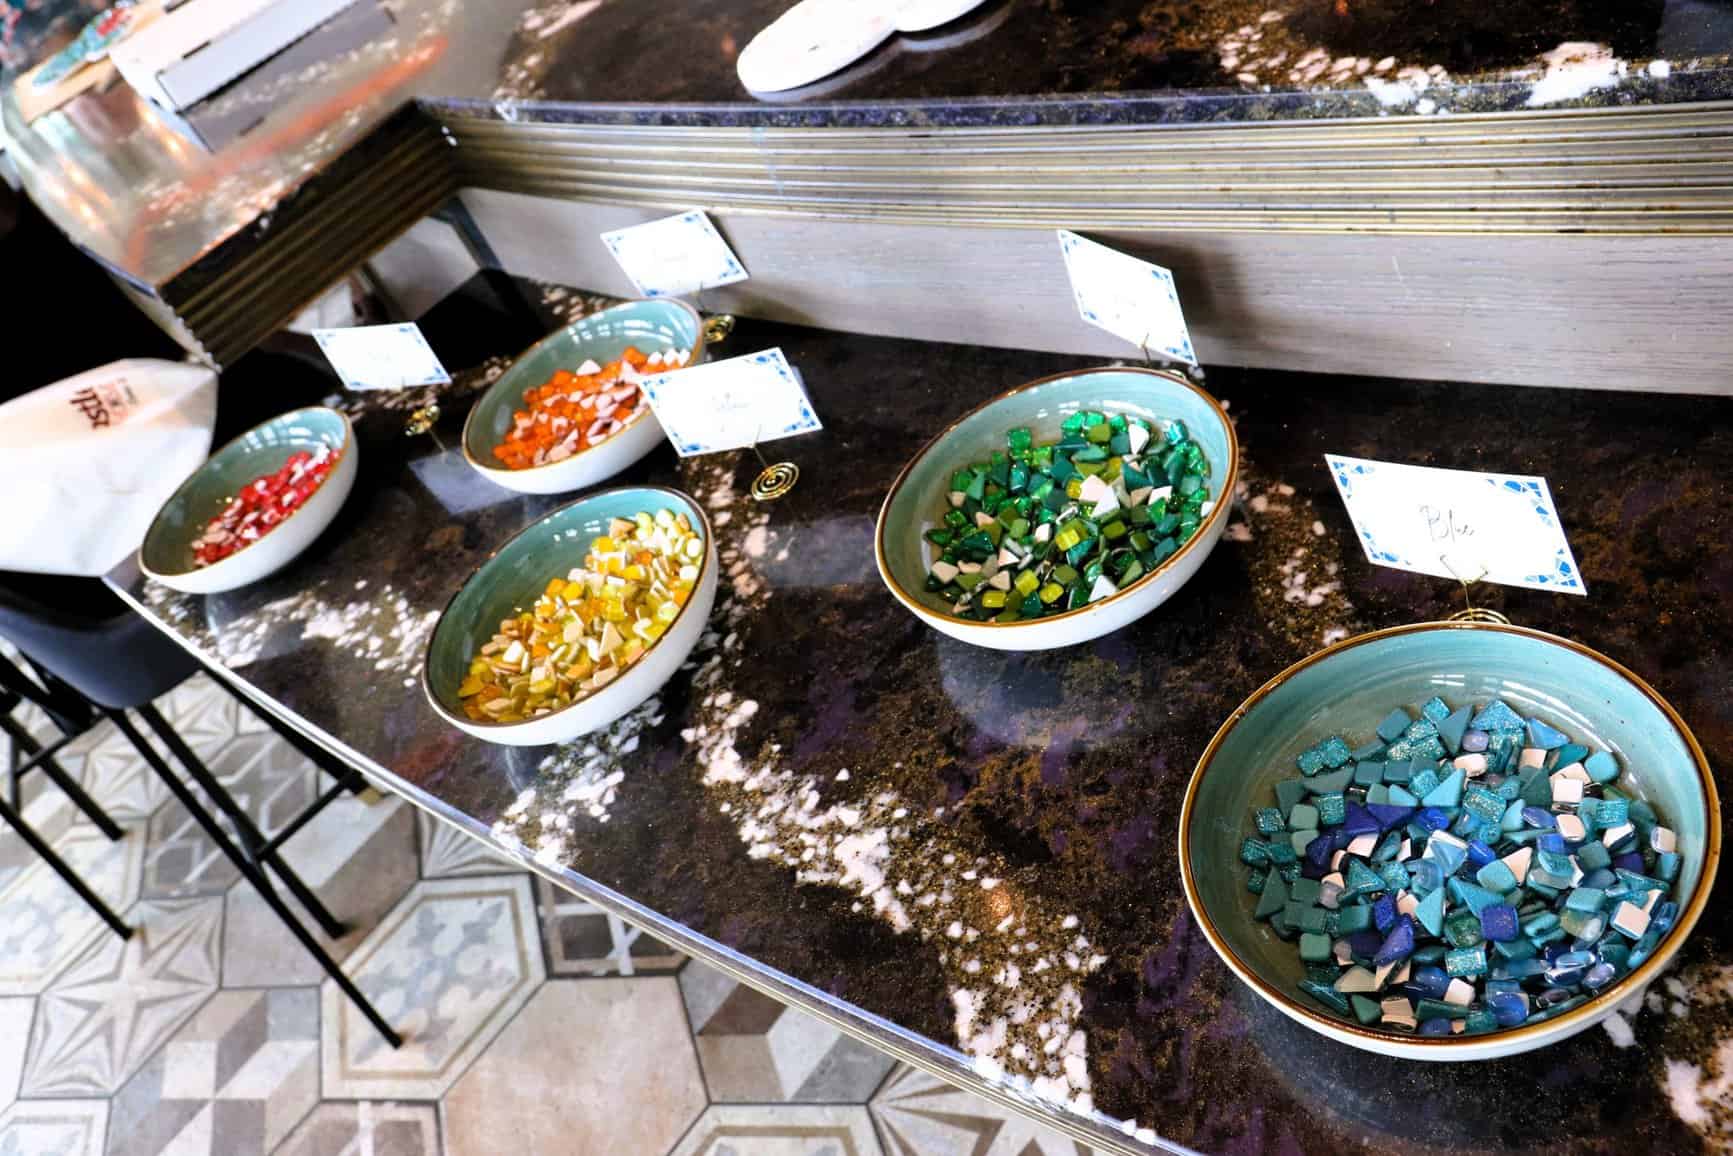
You’re always able to go back and grab more, too! I think there was a little uncertainty at first since most people weren’t sure how many they might need, and many took way more than necessary. If you need a certain color or shape and they seem to have run out, just ask around! Many people had tiles they weren’t using and were happy to share.
There’s plenty of freedom to be creative here. You can choose several colors, one color, or go for a whole rainbow. There were a few shades of each color as well as some glittery pieces, and several different shapes. I decided to go with an orange, blue, and yellow color scheme. My living room is orange and turquoise so I was hoping to match that.
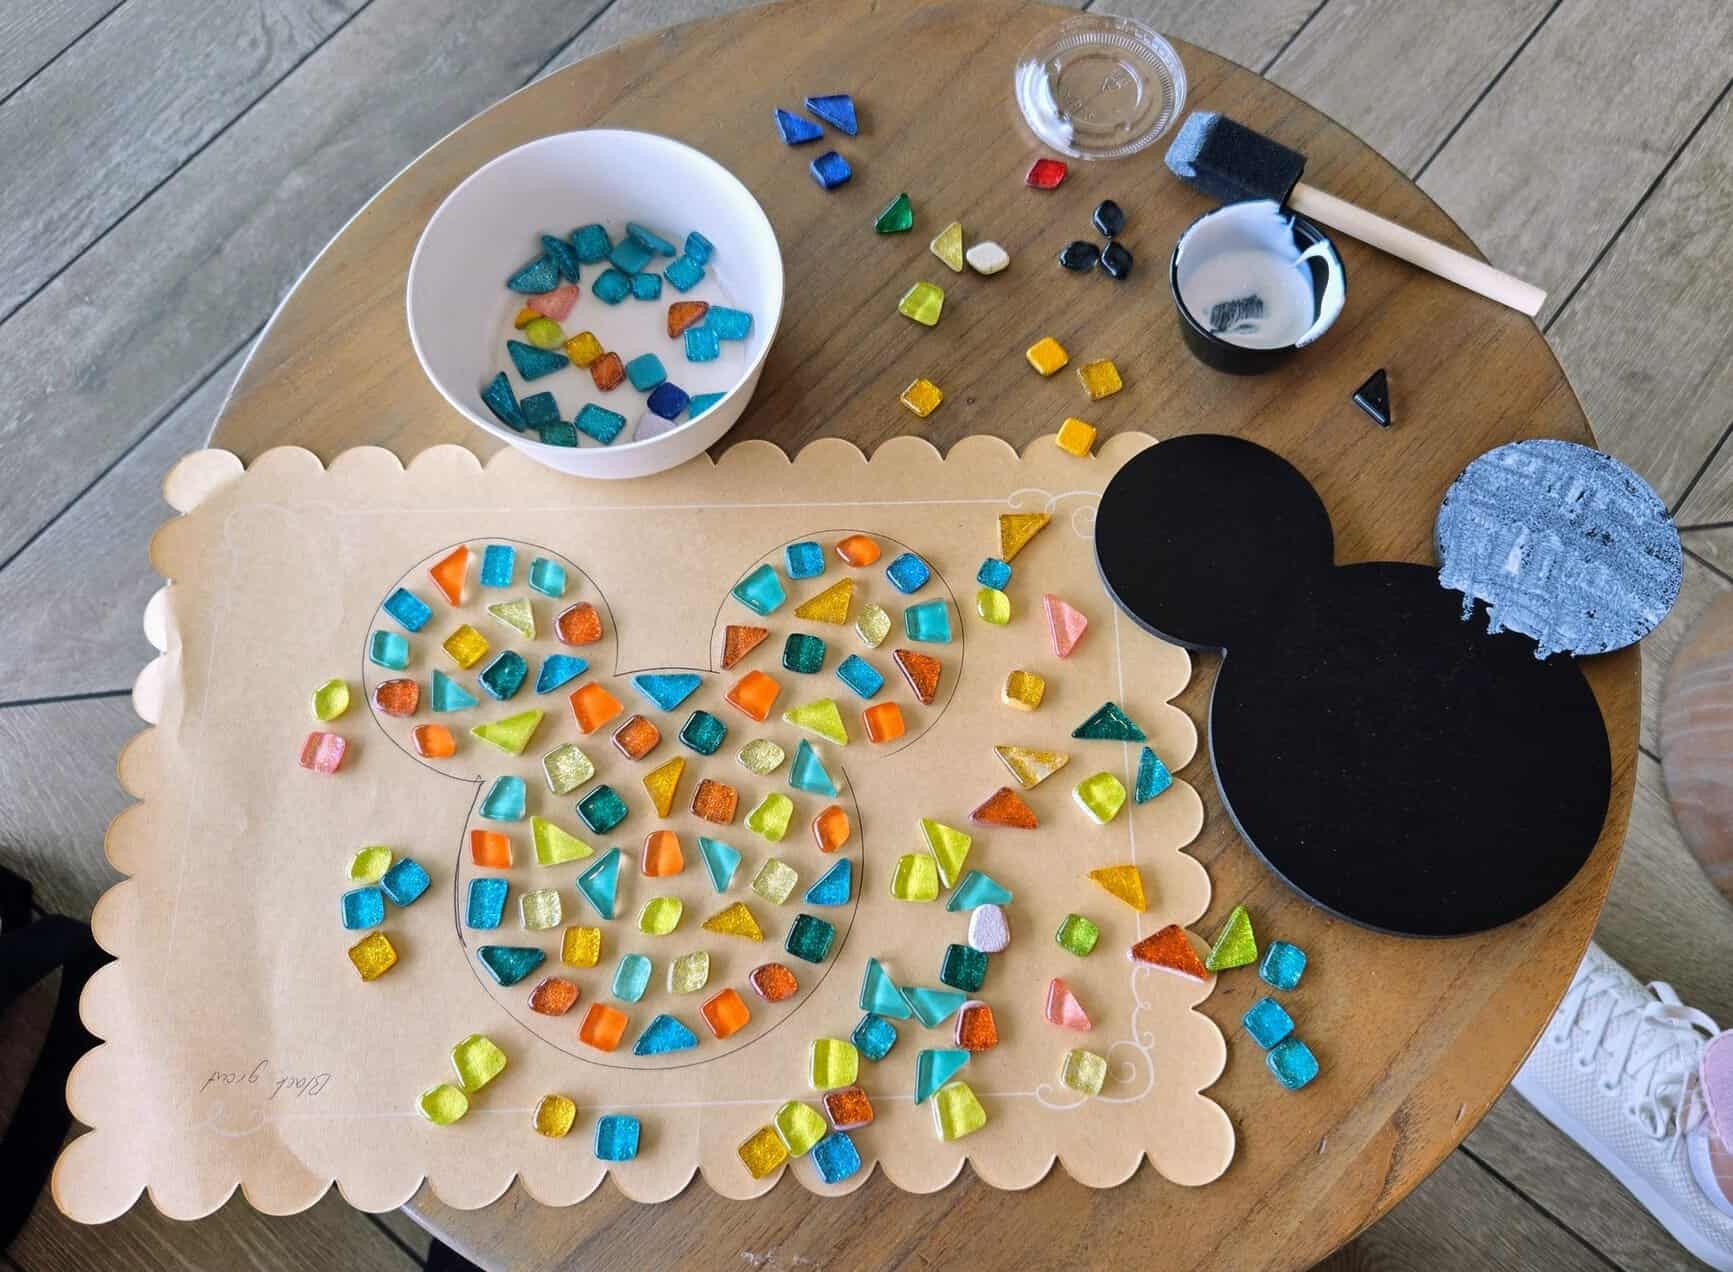
This might be a little harder than it looks! You want to try and have your tiles arranged in a way that looks nice, fills out the shape, and isn’t too close together. You might be moving a couple of things around and changing this as you go, which is why it’s important to plan before gluing. Some people took a very long time with this part of the project.
Glue down your tiles
Once you’re satisfied with your plans, it’s time to glue the tiles onto your base! You had to use enough glue so the tiles would stick, but not too much that it would take too long to dry (this is another reason I think kids might struggle here – many love to go overboard on the glue!).
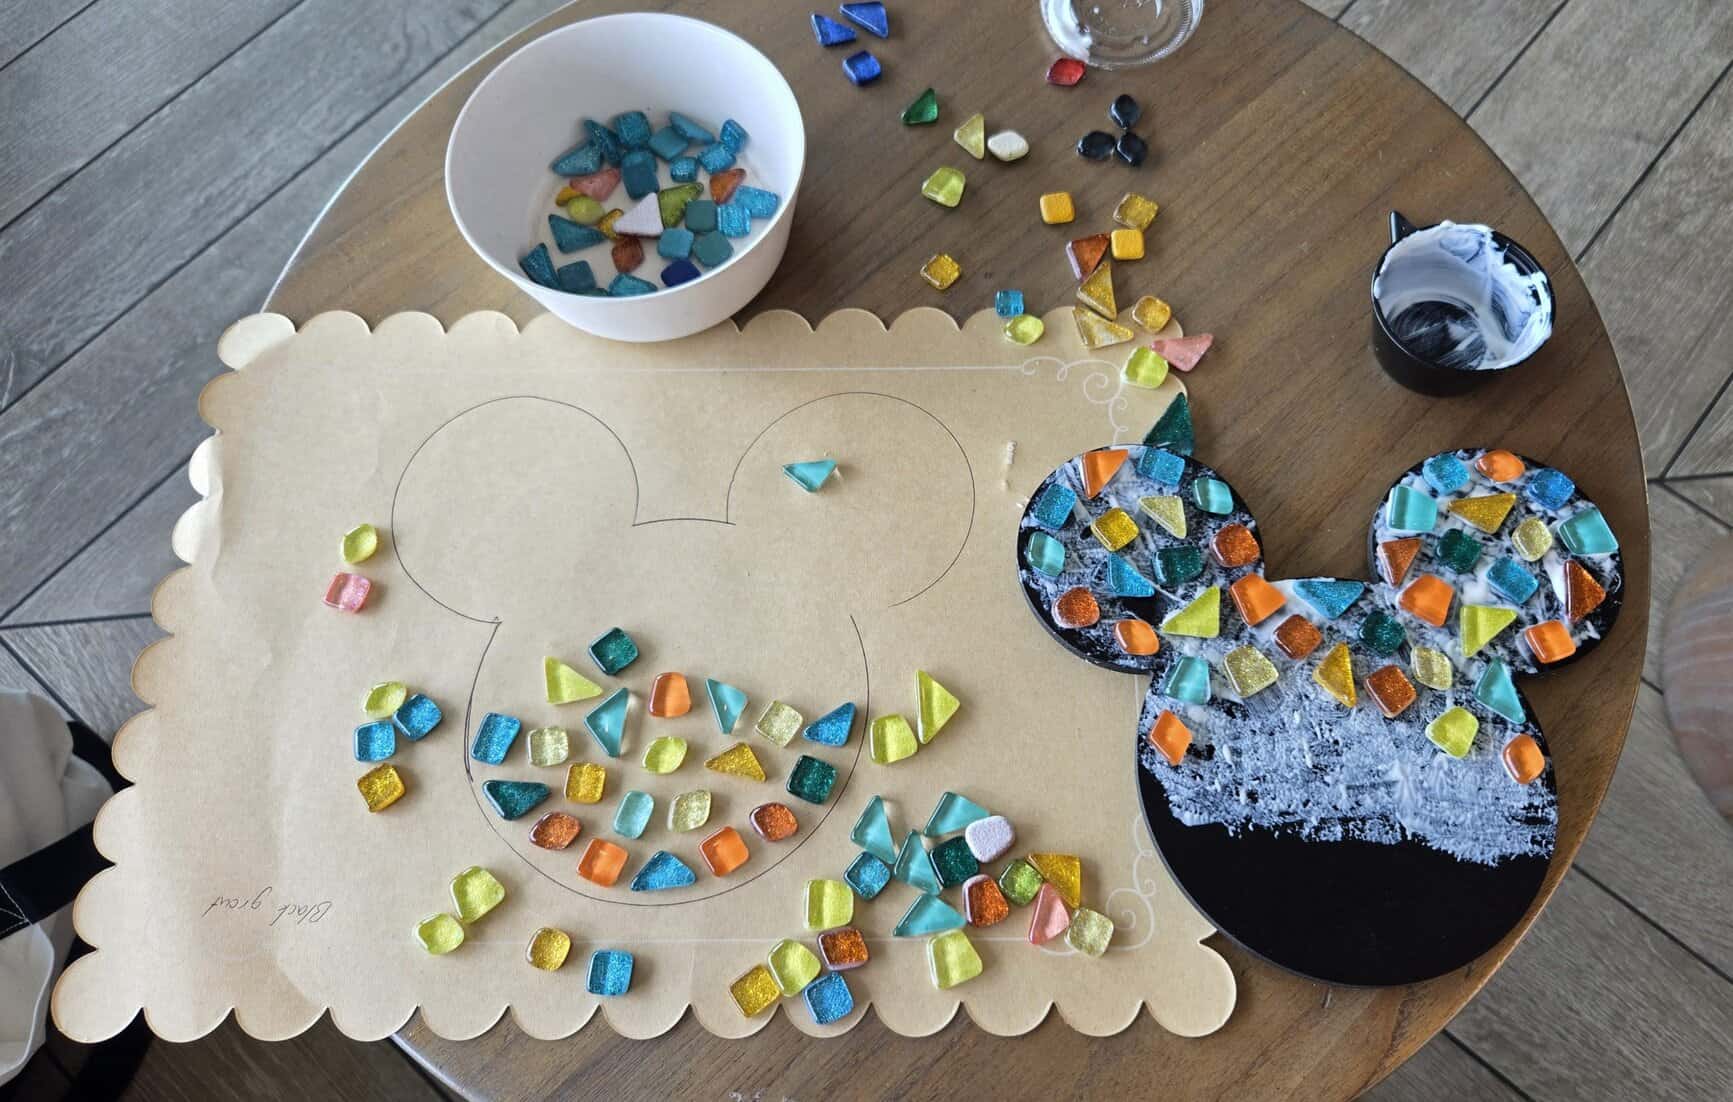
They recommended doing one section at a time, so the glue didn’t dry up. I did one ear, then the other, and then the main section in a few different parts.
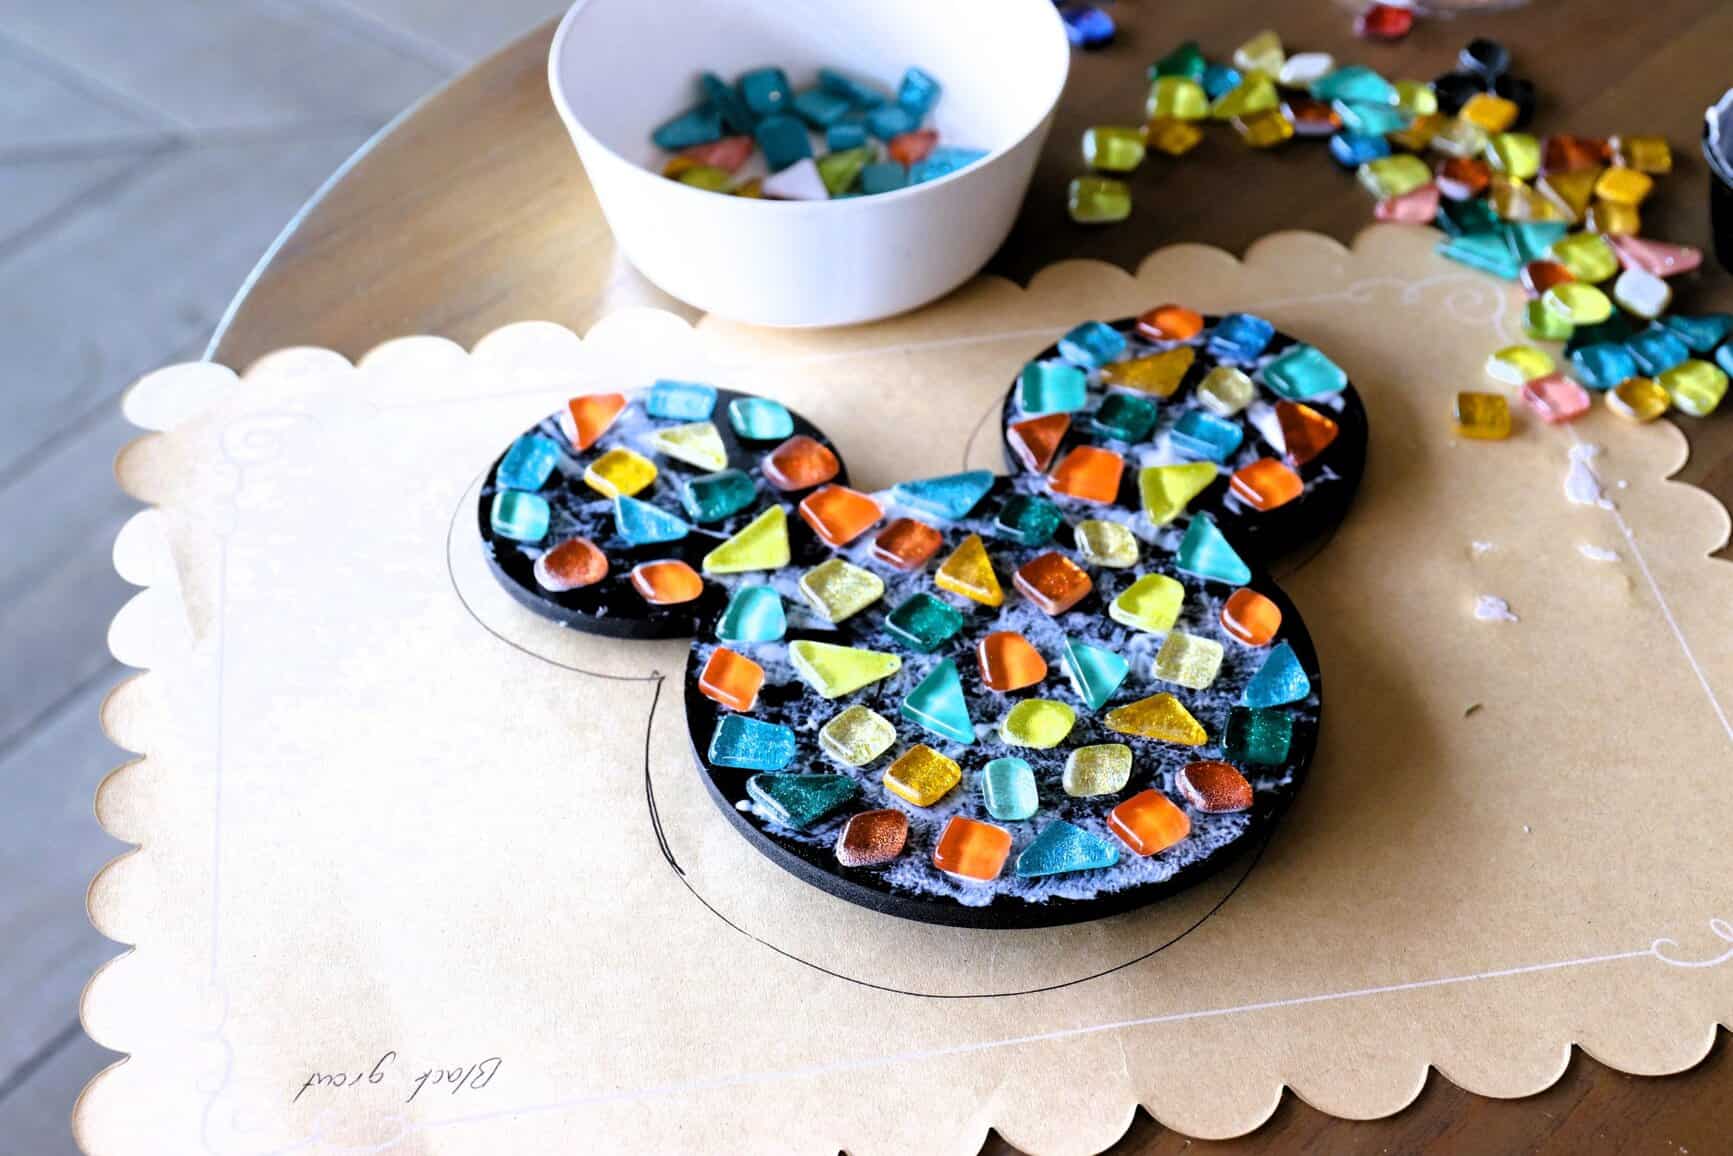
Before you can move on to the next step you need to wait for the glue to dry, which took about 15-20 minutes. Since I was with a group and we were all working at different speeds, I took this time to check out how everyone else’s projects looked. It was fun to see all of the different colors and styles! It was also a good opportunity to head out on the balcony and enjoy the view for a bit.

Applying the grout
This is the messy part of the project! Once your glue is dry, you get the apply the grout. They gave us rubber gloves and a spoon to help apply it. You had a choice of either white or black gout. They recommended black on black and white on white, but if you wanted to do rogue you could.

It was messy and a little bit difficult, too! You wanted to make sure the grout got all in between the tiles as evenly as possible. You covered up the stones to do this – they reassured us that we would be able to clean all the grout off later. That part had to happen a few hours later, however.

At this point, you are basically done! You get a box to place your mosaic in (kind of like a small pizza box), and some wet wipes and instructions for how to clean it off later. They suggested to wait at least 3-4 hours.
Finishing your project
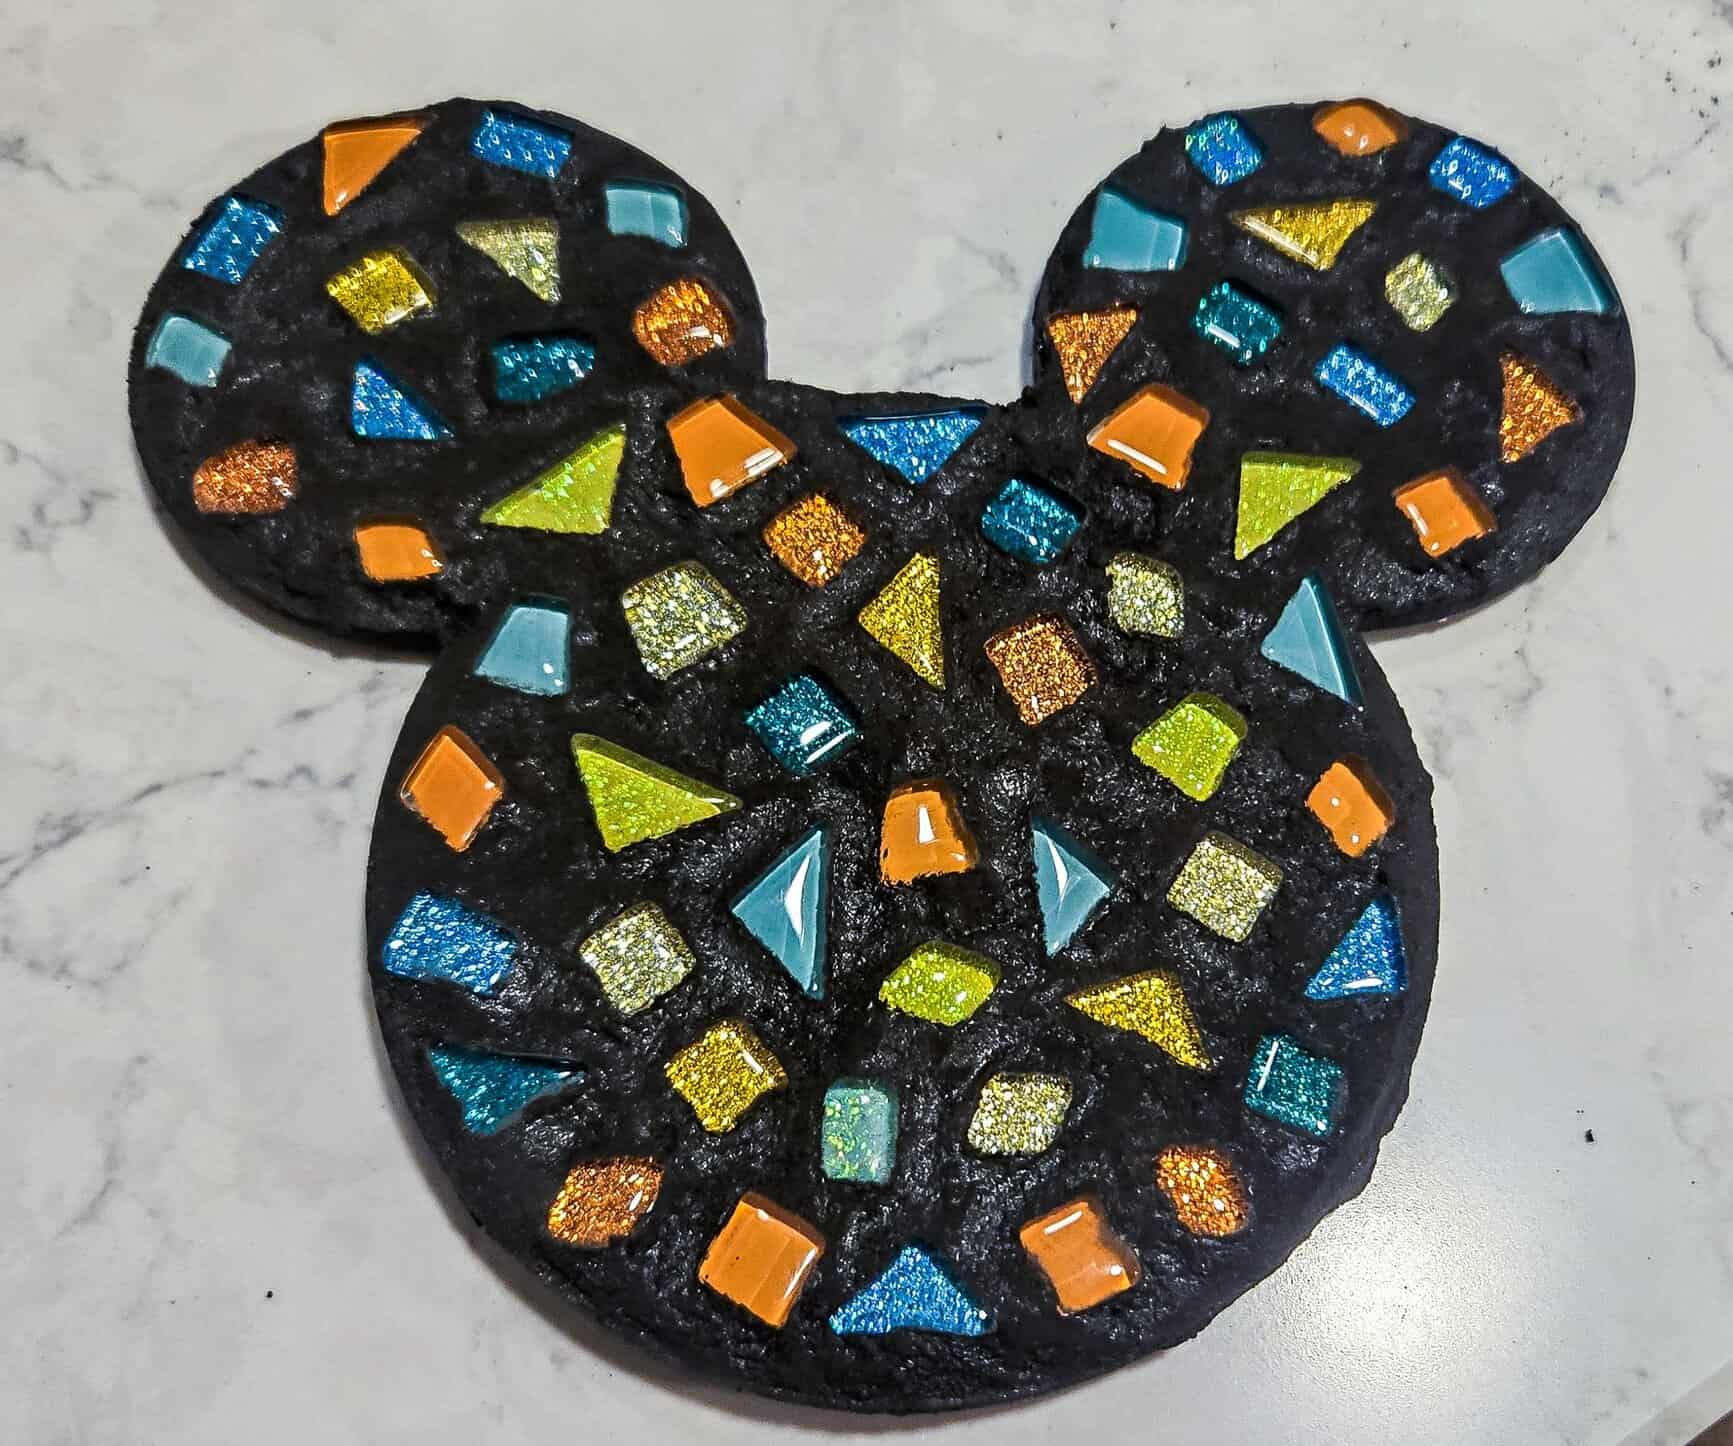
I decided to try and tackle my mosaic later that evening, around 10pm after our fireworks cruise (so about 8 hours later). Getting the grout off it harder than it seems! You really have to put some muscle into it, and 2 wet wipes were definitely not enough. Someone had also suggested a toothbrush, which seemed to help. But after enough elbow grease and effort, I finally got it looking pretty nice!
Overall thoughts on Disney’s mosaic art class
I really enjoyed the Spanish mosaic art! I’m someone who does arts and crafts on a regular basis, but I’d never done mosaic work before so it was a fun introduction. It took me about an hour and a half, but you have up to two hours. Since it’s mid-afternoon, you’d want to do it either on a non-parks day or a half day.
Plus, it’s a great souvenir! It’s Disney-themed and something you made yourself. It wasn’t too big or difficult to transport back home in my suitcase. The price is pretty reasonable, too.
Since they now offer these classes at other resorts (with different shapes and styles), I would love to try it again somewhere else. Especially if I was with someone else who would be interested, because it was a nice social activity too. Animal Kingdom Lodge has a few cute animal-themed ones, so I’d love to try one of those!
Not sure where to start when planning your Disney World trip? Feeling overwhelmed with all of the information and how to keep track of everything?
Consider vacation planning printables – over 60 pages of trip planning, including a budget worksheet, guide to characters, trip comparison worksheet, a look at the dining plans, info about Disney Lightning Lane passes, daily itineraries, packing checklist, and much more.

Related Posts
Have you heard of the Disney mosaic art class? Would you want to try this?

Oooh, this would be a great race weekend downtime activity!
Yes! They have them at a number of different resorts, too – I want to do the Animal Kingdom Lodge one because they have different animal shapes there 😉
Your mosaic is beautiful, Becky! I’d love to see how you display it in your home! I’d also love to see some of the other styles! I think I need to check this out as it is something I’ve been thinking about doing for a while!
Aww thank you! I will try to get a pic of it in my living room!